Paper “Gingerbread” House

This year, things are financially rough in my house. I keep saying, I’ve never worked so hard to be so poor! But, no money does not need to mean, no Christmas! We have talked about having a dollar store Christmas, and we are all trying to focus on what the season is supposed to be about, not just the presents. Because of our situation, I wanted to focus on some Christmas-y projects that don’t require a lot of money, and can be done (for the most part) with things you have around your house and can get for very little money. I was looking around my house looking for things we have already; things I can use for a couple different crafts, and I have to say, I was surprised at what I could make with what I have at home already.

When I sat down to make this paper gingerbread house, I thought I knew what supplies I would need, but as I worked, I decided to add a few more little embellishments. The beauty of this project is that you can use WHATEVER you have at home, but here is what I used…

Supplies:
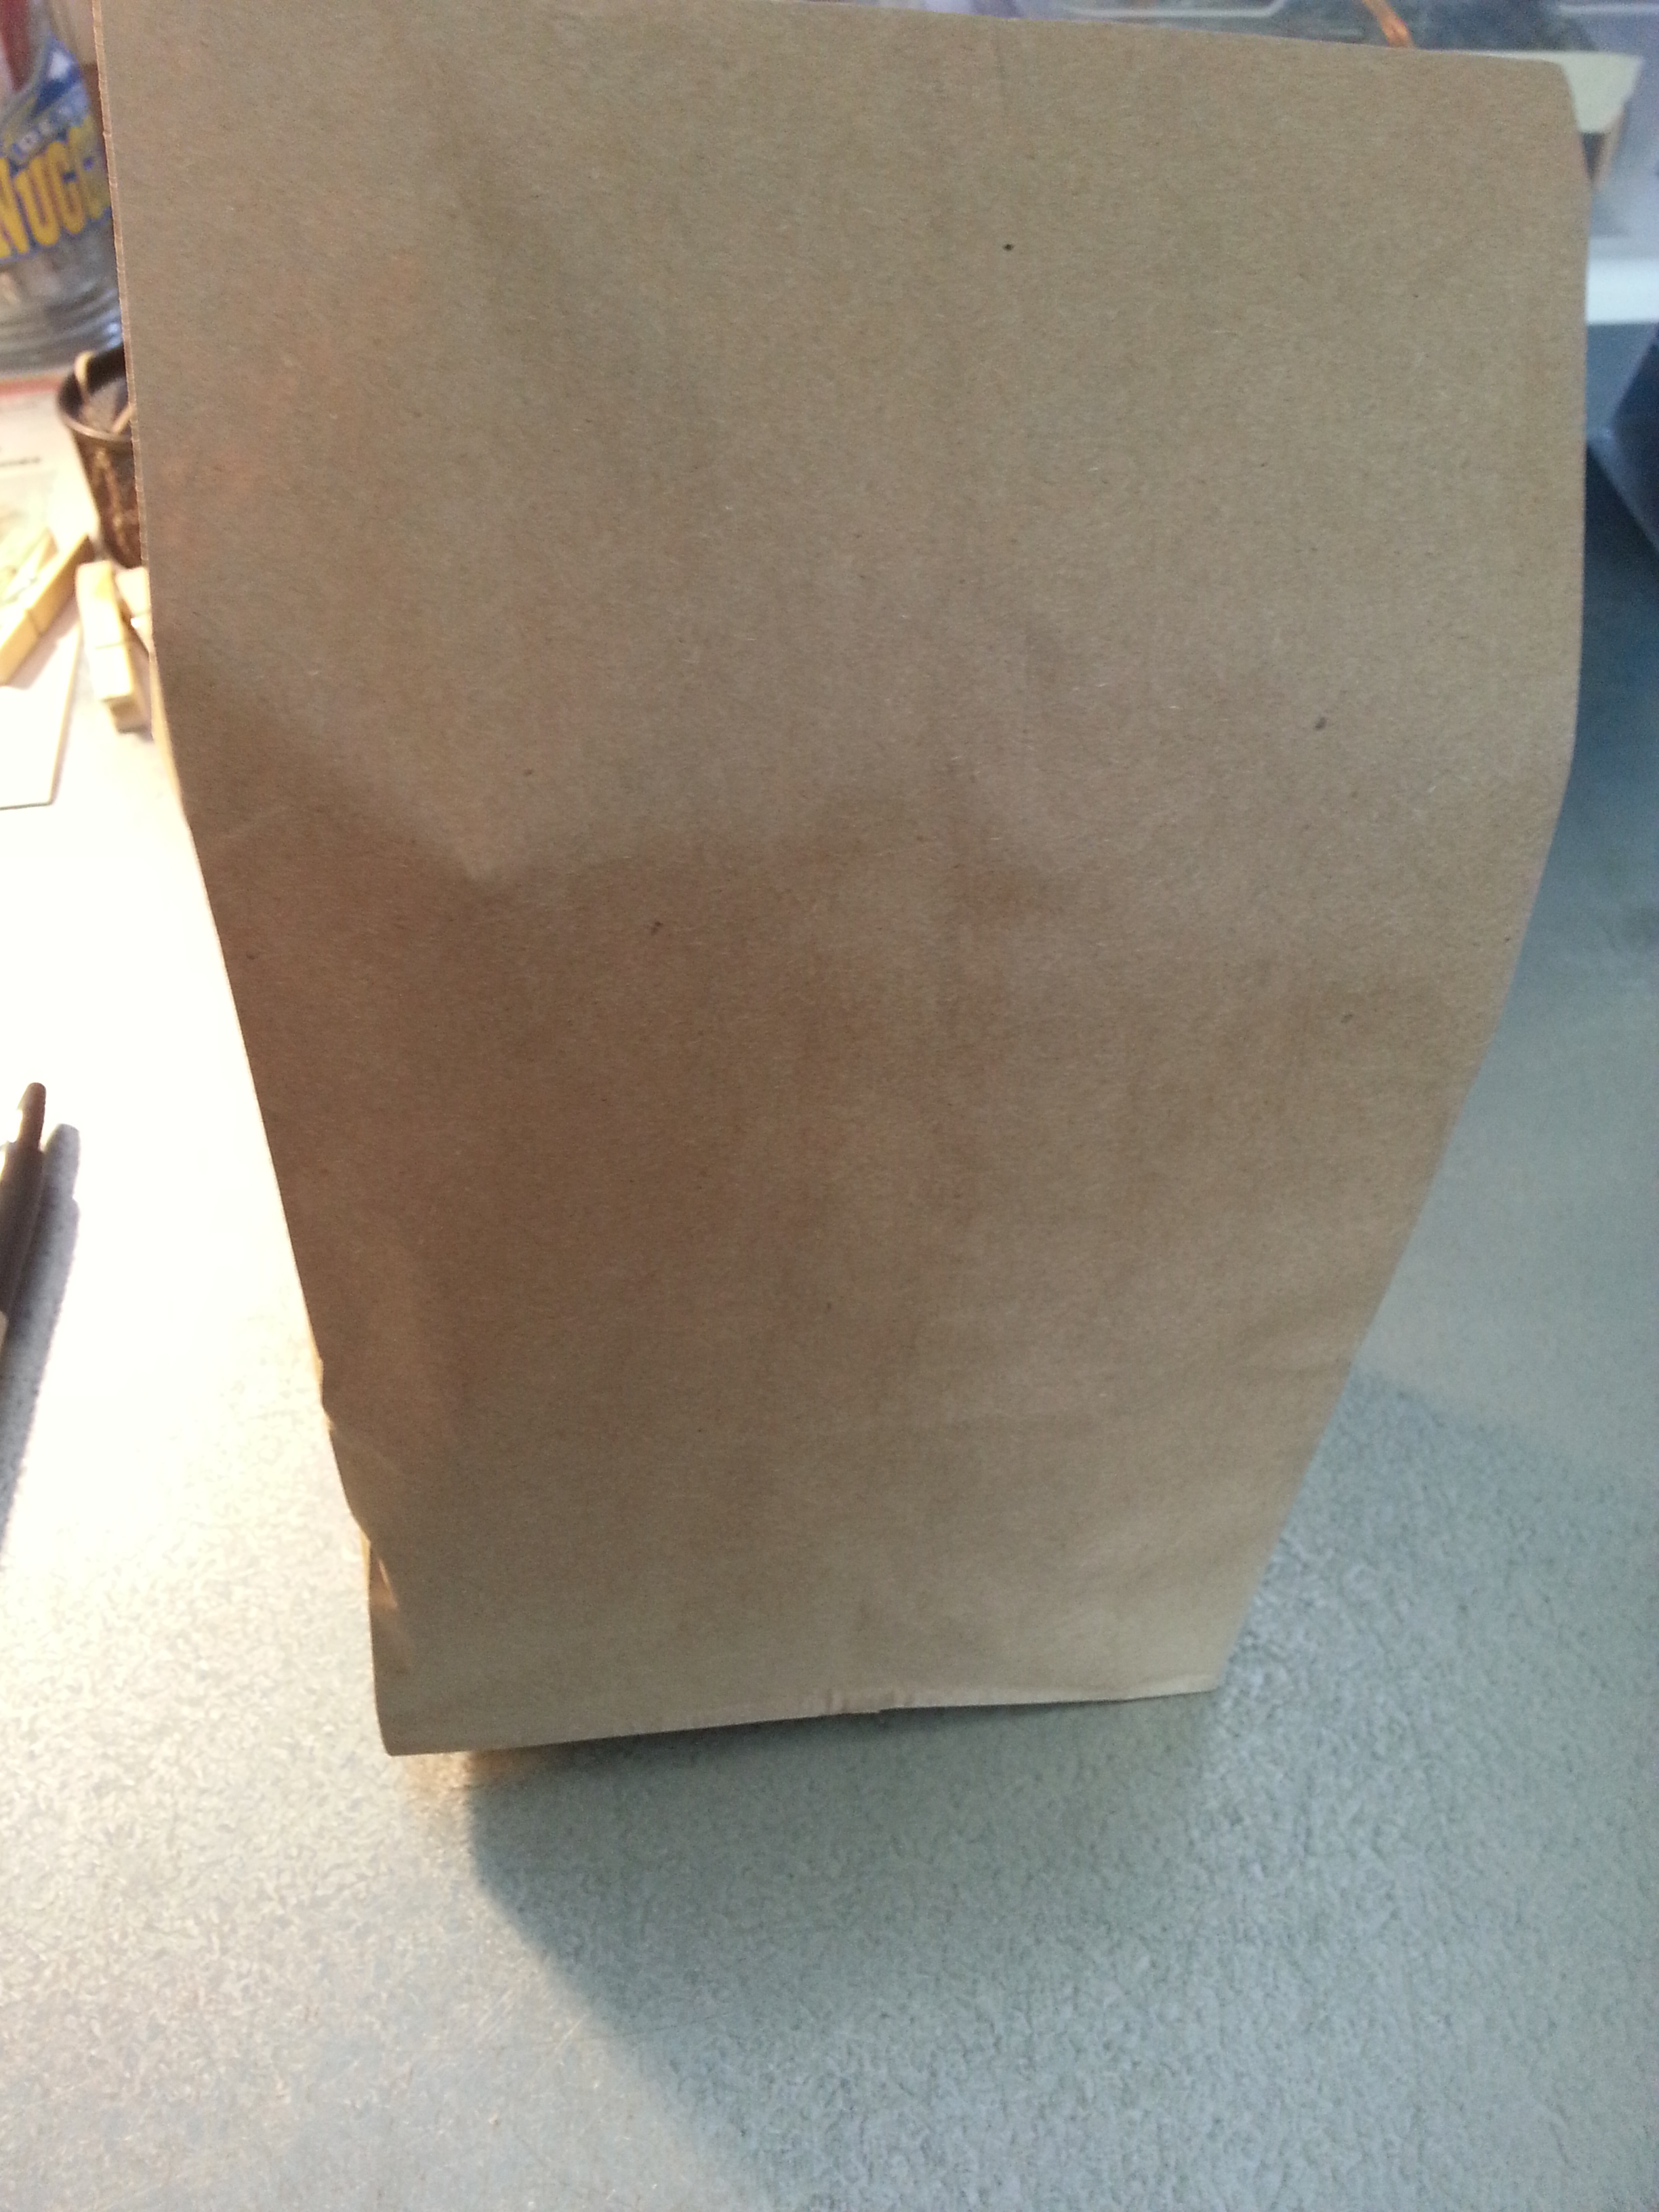
Brown paper lunch bag
Newspaper
Marker/Crayons/Paint
White Paper (I used cardstock, but you can use whatever you have)
Colored Paper (your choice of color)
Buttons/Stickers
Tape
Glue (I used white, school glue…but whatever glue you have will work)
Hole Punch or scissors
Your own special embellishments
Gingerbread house - Supplies

Step 1: Open bag and stuff with crumpled up newspaper, I used 3 full pages of newspaper. Then tape shut. You will want to have a slight slant at the top so you have a roof to your house.
Gingerbread House - Stuffed Front
Gingerbread House - Stuffed Back

Step 2: Draw two 2″ squares, then draw a “t” on the window so it looks like a 4 paned window.
Gingerbread House - Windows

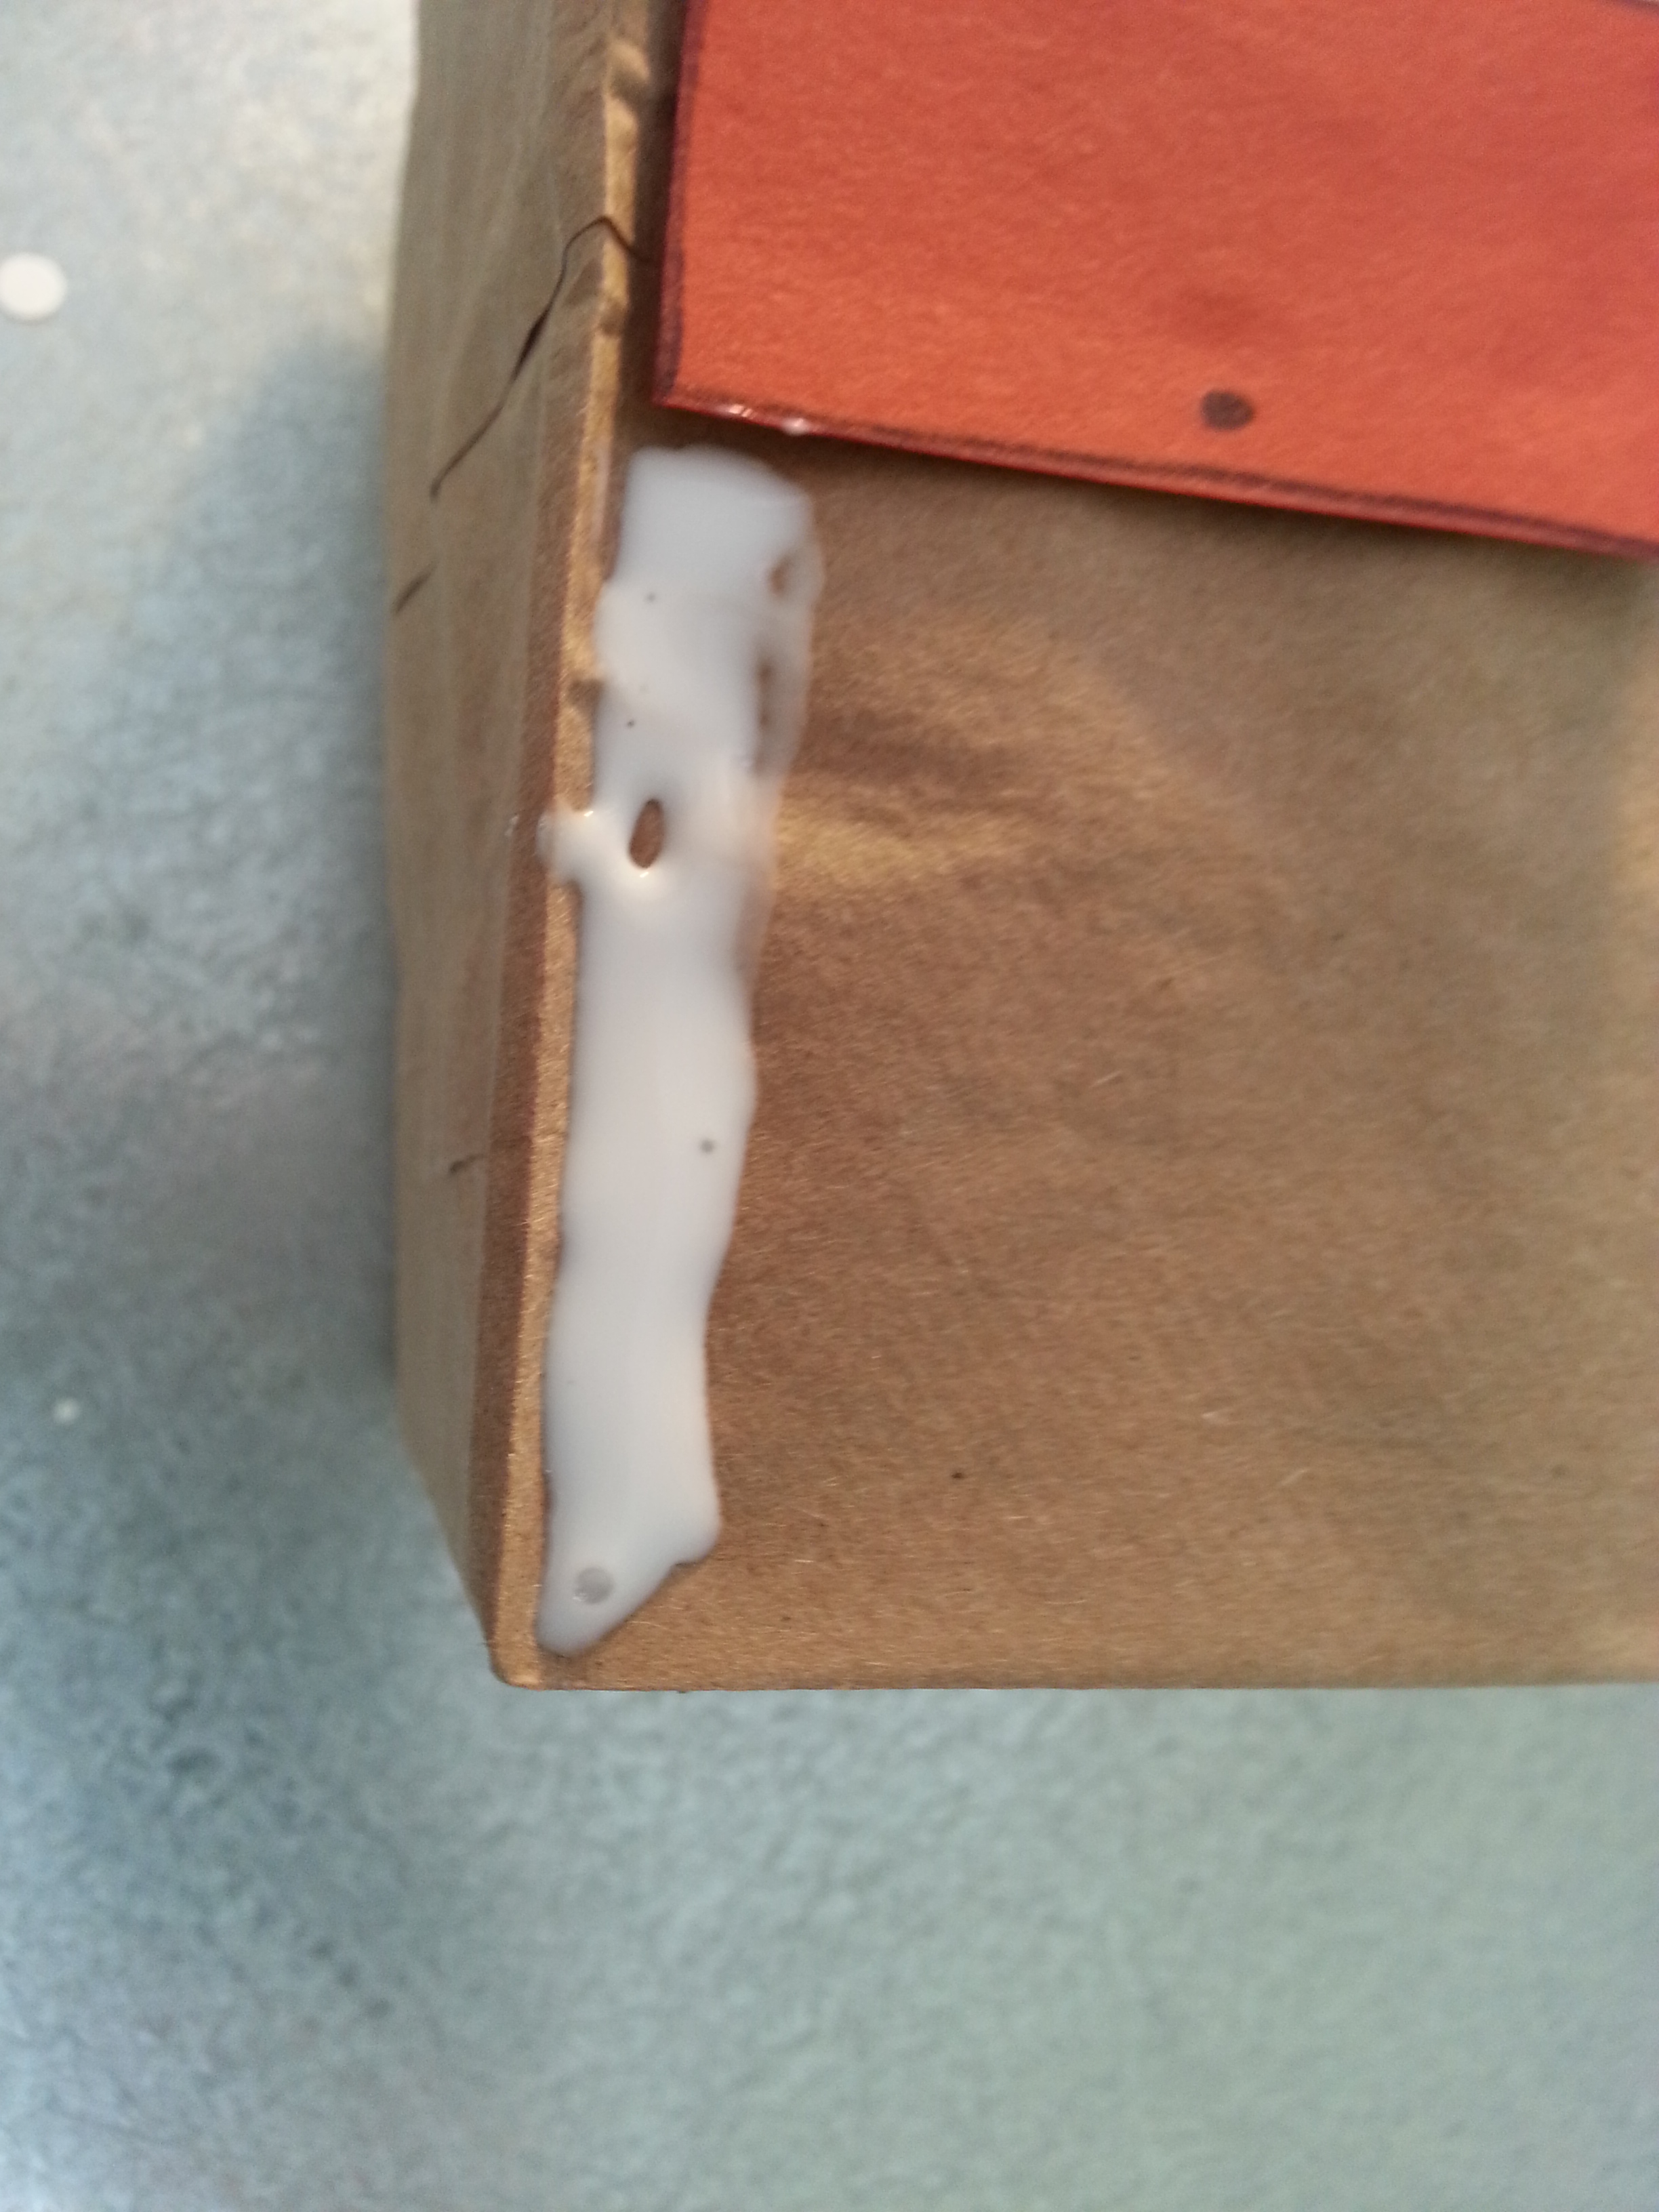
Step 3: Freehand a door for the house on the colored paper, draw a door knob. Then cut out the windows and door.
Gingerbread House - Windows and Door
Glue the windows and door onto the house.
Gingerbread House - Windows and Doors On

Step 4: Take the left over white paper and a hole punch to punch small snow balls. (If you don’t have a hole punch, just use scissors, and cut small white pieces to be your snow. You can also use a stretched out cotton ball as your snow).

Step 5: Take glue and make a few lines of glue at the bottom of the bag, on either side of the door. Then, pour the “snow” on the glue. Shake off any excess snow. Don’t worry if some of the glue shows through, it will kind of look like the icing used on a gingerbread house.
Gingerbread House - Presnow
Gingerbread House - Post Snow

Step 6: Pick out buttons and glue to the roof of the house. You may need to prop up the top of the bag to keep the buttons from sliding while you wait for the glue to dry.
Gingerbread House - Buttons
Gingerbread House - Button Roof

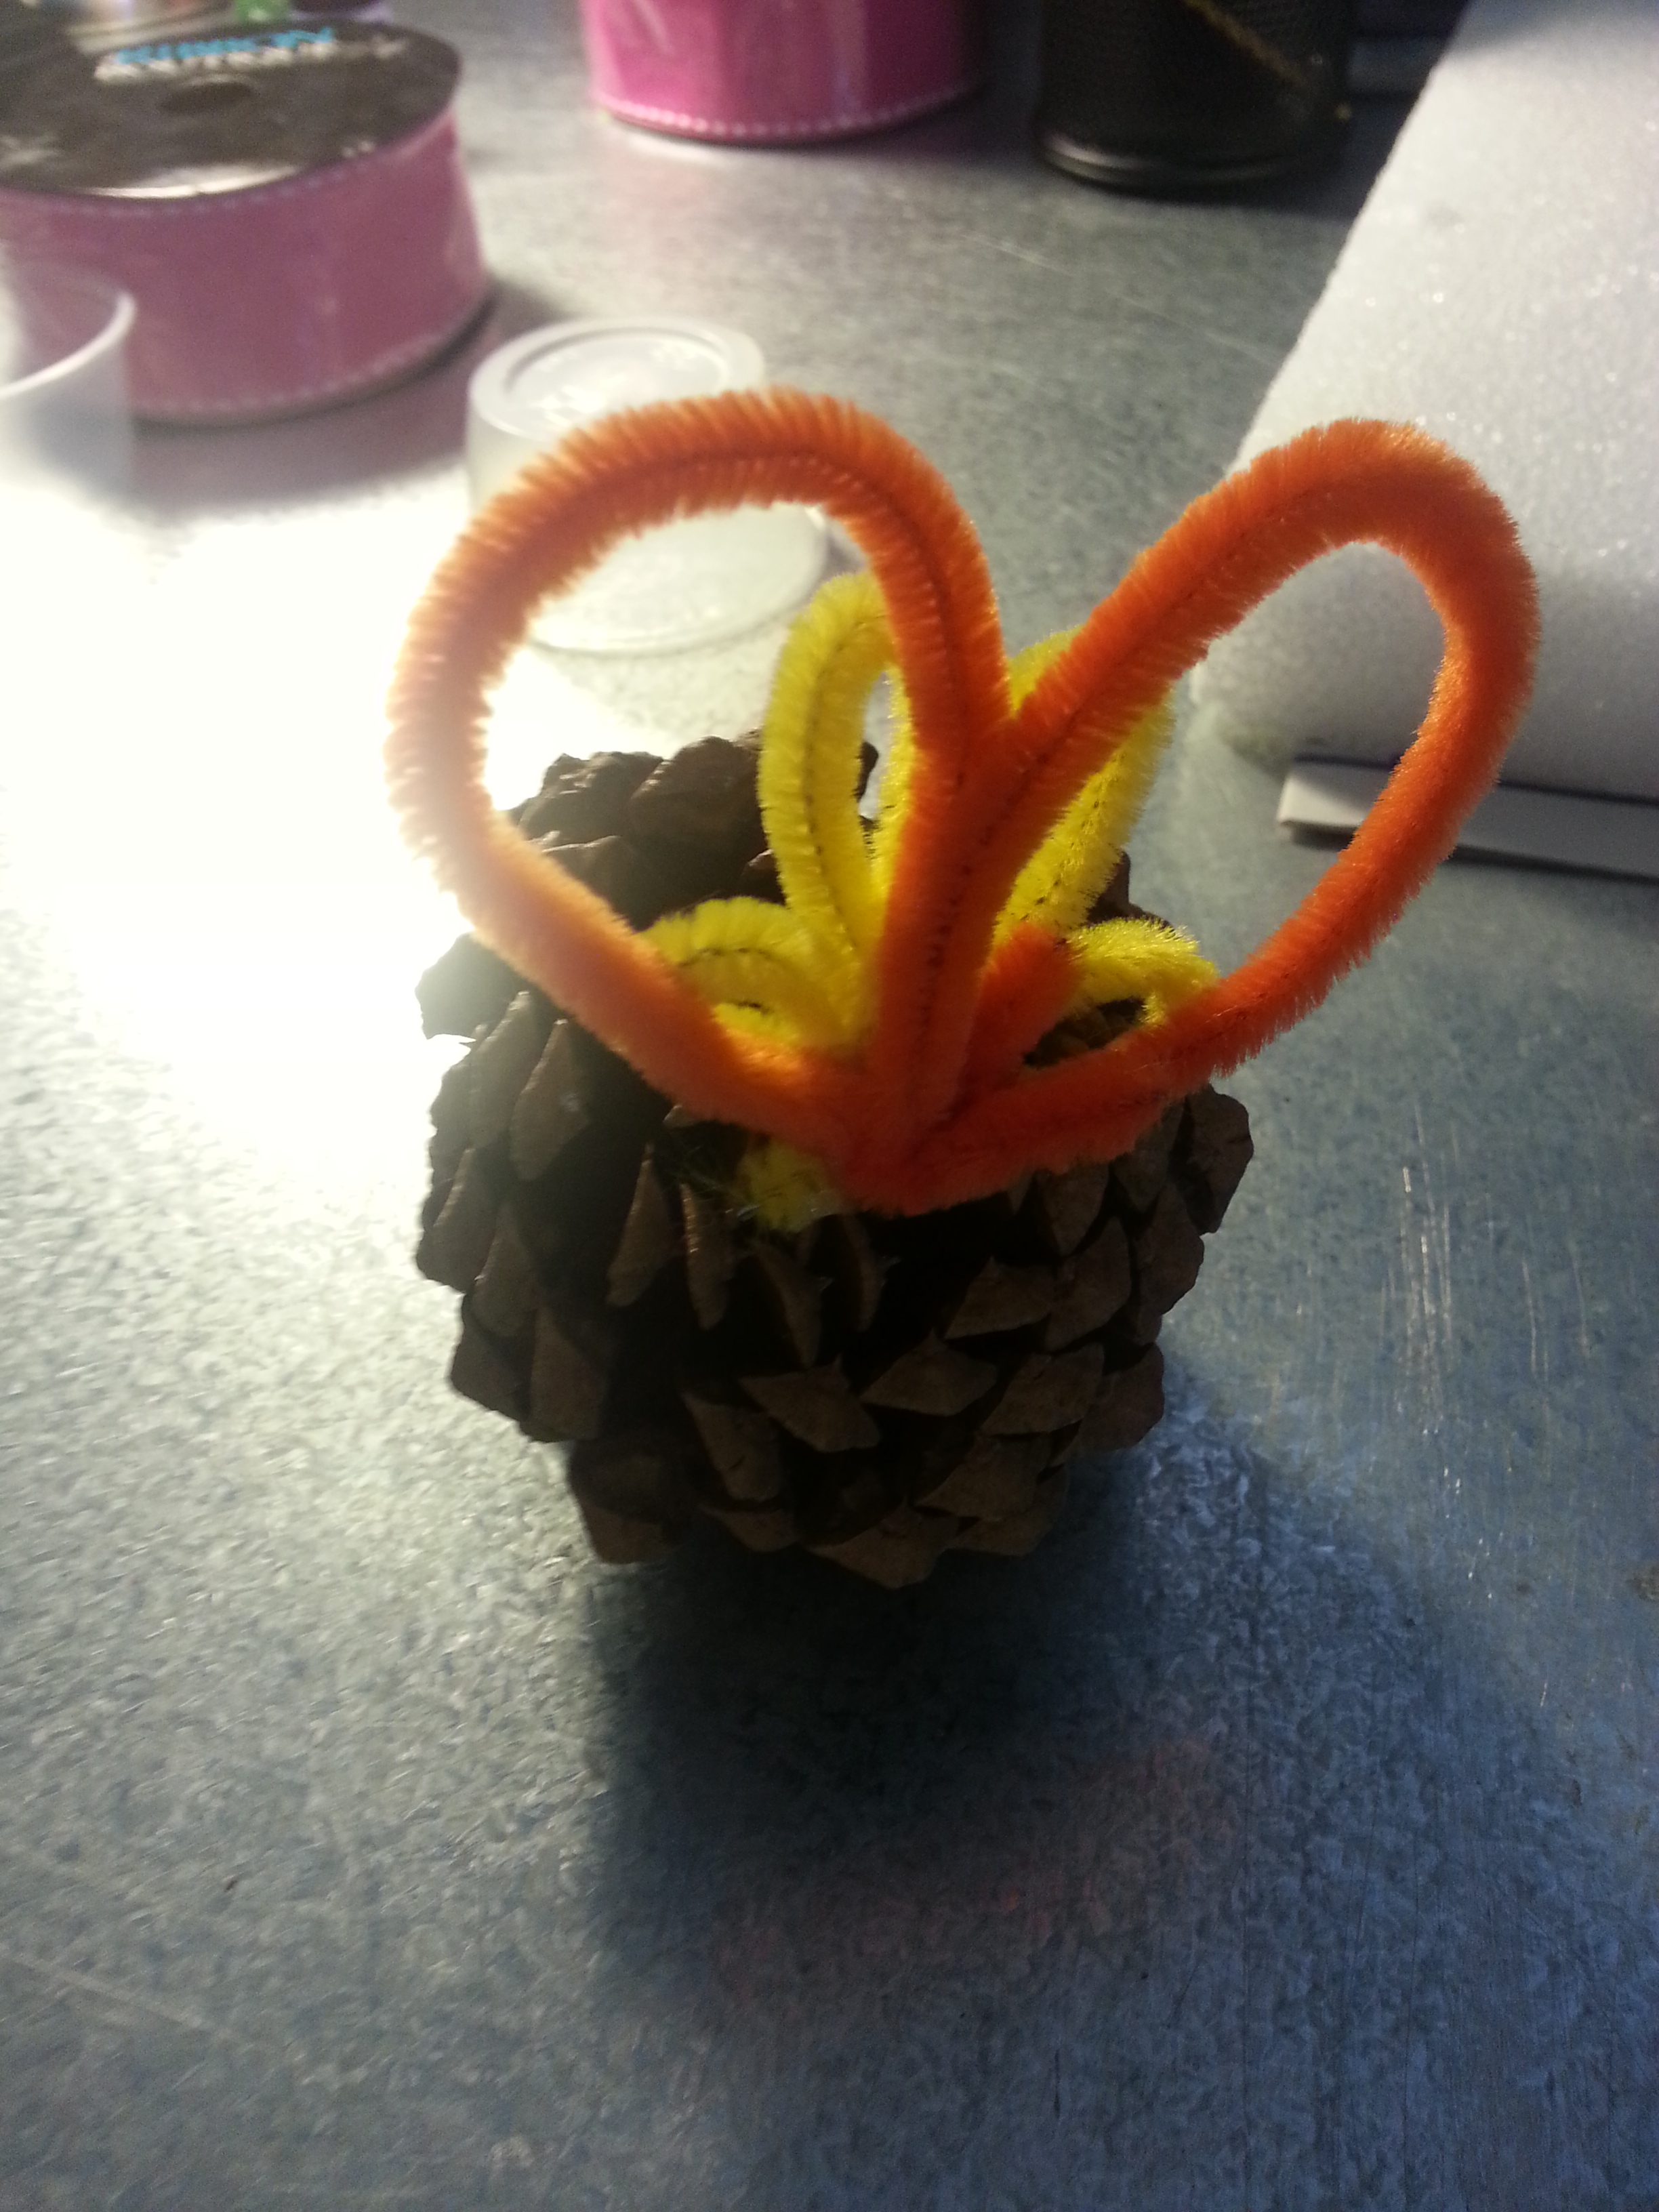
Step 7: Once the basics are done, add whatever embellishments you would like. I added some pipe cleaner garlands to the window and button snowman.
Gingerbread House - Embellishments

This is how it looked when it was all done!
Gingerbread House - Complete

Let your kiddos get creative and make it look however they want! Have the little ones make a few different houses and you can have your own special, homemade Christmas village!

**If you decide to make your own Christmas village, you can buy some small fake Christmas trees at the store. And set them on a fake snow blanket from a discount store.””

Glittery Wine Bottle

This time of year, who doesn’t love a little sparkly around the house??? When I saw this wine bottle left from a get together we had this weekend, I thought the bottle would look great as a candle holder…all it needed was just a little sparkle! I chose purple, in large part that I can use it as a decoration for my big sister’s upcoming wedding.

Supplies Needed:
Glass Wine Bottle
Scissors
Glue (needs to dry clear)
Glitter
Acrylic Paint
Clear Acrylic Spray (not pictured)
Regular Paint Brush
Foam Paint Brush
20131125_113208

1. Pick your wine bottle, any wine bottle will work, really, any glass bottle will work. To remove the labels, I just soaked the bottle in some water for about an hour. You can use a product specifically for removing labels and stickers (like GooGone), or even hydrogen peroxide to remove the label. I chose to soak the bottle simply because I had other things to do, and soaking the bottle allowed me to multi-task!
20131125_094817
20131125_110834

2. Once the bottle has soaked for a while, you will be able to see that the label is starting to loosen from the glass. The just use your fingernails to separate the label from the glass. It will pretty much just peel right off. Don’t worry too much about the residue on the bottle, we are going to paint, glue, and glitter over it so it doesn’t really matter if there is some residue. Then use a pair of scissors to make a small tab of the metal bottle wrapper around the top. Just pull the tab, and it should peel off.

3. Let the bottle dry out if the inside is still wet. Mine is just standing upside down on a paper towel for a little bit while the inside dries out (since my bottle was soaking in a bucket of water). Obviously, if you did not soak your bottle, you can skip this step.
20131125_111256

4. Once all dry, do a coat of paint to match the color of glitter. Let dry. I did not paint the bottom of the bottle since no one will see the bottom and it increases drying time.
20131125_124622

5. Once paint is dry, use the foam paint brush to paint on a coat of the glue. Once the glue has been applied, sprinkle a heavy coat of the glitter. Do this part over something to catch the excess glitter. I used a paper plate to catch the glitter, that way it would be easy to fold the plate and pour the excess glitter back into the bottle. Do this part in chunks to make sure the glitter is even and there are no holes.
20131125_134429

20131125_134433

20131125_135027

20131125_140255

6. Once you get to the top of the bottle, use something to plug the hole, this will help keep the glitter out of the bottle. Then do a section of glue around the top of the bottle and sprinkle with glitter.

7. Once all the glue and glitter is dry, lightly shake the bottle to gently remove any access glitter.

8. Take the bottle outside and spray the bottle with a coat of clear acrylic spray. This will help hold the glitter in place.

9. Once the acrylic spray is dry, you stick a candle in the top, and you are done!
20131125_144407

You can choose any color glitter for this project. I will probably do a couple in red and green for Christmas, and then maybe some in silver and gold for New Years.

Enjoy your sparkle!

Stock Up Now!

I was out this weekend and I have to say now is the time to stock up on Halloween and Fall decorations for next year. Every craft store, that I have seen, has Halloween decorations with deep discounts, and Fall decorations are moving to clearance areas to make room for Christmas decorations. When it comes to craft supplies and strolling the aisles of you local craft store, think outside the box! There are decorations or supplies that you might be able to use for something other that what is was originally intended. Last year, I used some sparkly, Halloween, fake floral pieces as an accent piece for decoration for a wedding. The floral was black and glittery, and the wedding colors were fuchsia, black, and white; so it worked perfectly. I also, picked up a black candelabra from the Halloween area of a craft store, and I will use it multiple functions, year after year. When you head out to the grocery store, don’t forget to check the clearance area there as well; grocery stores sometimes have some EXCELLENT deals on their seasonal decorations and party supplies. Where ever you go…keep an eye out for some of the amazing deals that are available to you this time of year!

Happy shopping!

clearance

Pine Cone Turkey Craft

Thanksgiving is full of time with family, friends, warm colors, football, and food! When I was little, we always made Thanksgiving crafts to decorate the house for the holiday. This is a project for children to do for Thanksgiving. If there is anything that you feel needs to be adjusted for your child, it is easy to do. For example, I used hot glue, but you can use pretty much any glue that will dry clear. The beauty of this project, is that it is an inexpensive project, and great to do with your kiddos on a chilly day (like the one we are having in Colorado Springs today!). You can get the googly eyes, pipe cleaners, ping pong balls, toothpicks, and the Styrofoam or floral circle at the dollar store. Everything else, you can pick up pretty much any discount or craft store. Here we go…

Supplies:

Pine Cones
Pipe Cleaners
1 Orange Button
Glue gun & glue sticks
Brown Paint
Styrofoam (or a small floral circle)
Ping Pong Ball
Googly eyes
Toothpicks

Turkey 1

Step 1: Use a piece of Styrofoam and 3-4 toothpicks to create a “stand” to sit the ping pong ball on while the paint dries. Paint the ping pong ball brown. I did not have any brown paint, so I mixed green and a small amount of red paint, adding more red paint until I got the shade of brown I wanted. It will probably take 2 coats of paint to get the paint even.

Turkey 2

Turkey 3

Turkey 4

Turkey 5

Step 2: To create the feathers, you will use the pipe cleaners. For the first feather, you want to make a small loop, and wrap the pipe cleaner around the small loop to secure the loop. Then make two larger loops and another small loop. Once again, wrap the pipe cleaner around to secure all the loops.

Turkey 6

Turkey 7

Turkey 8

For the second feather, you are going to make two, equal size loops, kind of like bunny ears. Wrap the end of the pipe cleaner around end to secure the loops.

Turkey 9

Step 3: Glue the googly eyes and the button nose to the ping pong ball, once the paint has dried.

Turkey 13

Step 4: Glue the feathers, one at a time, on to the back of the pine cone, and the face onto the front of the pine cone.

Turkey 10

Turkey 11

Turkey 12

Turkey 14

Once the glue is dry, you are done! You can always add any extras you want…you can add a little top hat or a scarf, or anything you want to make it your own little turkey!

Turkey 15

Last Minute Halloween Decorations

I can’t believe today is HALLOWEEN! Halloween is normally one of my favorite days of the year! I love the costumes, the decorations, the pumpkins, and, of course, the candy! But this year, my house was full of sick people and craziness, so all the special moments of the holiday got lost…sad face! I can’t let the house be completely undecorated for the trick-or-treaters tonight, so I’m making so bats to decorate the house.

This project is quick, easy, and inexpensive! I don’t even need to do a step-by-step tutorial for this project, it is that easy! The bats are just simple cardstock, glue & googly eyes. I used my Cricut paper cutting machine, but you don’t need the machine, you can freehand it or find an inexpensive stencil at the dollar store. I also, chose to use glow-in-the-dark googly eyes. Glue the eyes on the bat, let the glue dry, and you are done!

Bats

My niece will be over later to help me put up some decorations!

Happy Halloween!

Glittery Icicle Craft

image

My favorite part of Christmas is the sparkly lights and glittery decorations. Since money is a little tight this year, we are making a lot of our own Christmas decorations, and I think this will be a fun, simple craft to add to our Christmas decorations. I saw a similar icicle craft on Pinterest, so I decided to make it a little more sparkly and flashy. This is not really a craft for little ones, but if you have an older kiddo, they can probably do this one.

Supplies needed:
Christmas Ornament Hooks
OR
Thin floral wire & wire cutters (this is what I used)
Hot Glue Gun & Glue Sticks (low temp would be best)
Glue, must dry clear (I used Mod Podge)
Paint Brush
Something to protect the work surface (I used newspaper)

Icicle Craft - Supplies

Step 1:
Unfold ornament hook, leaving the hook to hang from the tree branch.
OR
Cut floral wire about 6 inches long, straighten the wire, and create hook to hang from tree branch.

Step 2:
Hang wire form from string, or any place you can hang it from. This part is not messy, so anywhere you can hang the hook from will work just fine. I used my clothes drying rack for this part of the craft. Plug in the hot glue gun and let it warm up.

Icicle Craft - Step 1

Step 3:
Slowly run hot glue down the wire. Make sure to start about ½” to 1” from the top of the bend of the hook. It doesn’t have to be perfectly straight, in fact, the more “imperfect” the better. The more “imperfect” the more it will have the form of an actual icicle. Allow glue to dry completely

Icicle Craft - Step 2

Step 4:
Once dry, use a small paint brush to do a coat of glue. Make sure the glue is one that will dry clear; you don’t want gobs of white glue to stick out underneath the glitter.

Icicle Craft - Step 3

Step 5:
Sprinkle the glue covered icicle with a heavy coat of glitter. Gently shake off excess glitter from icicle and allow to dry completely. The beauty of this part is that you can pick a color of glitter to match your tree. I chose silver because it is pretty neutral when it comes to a Christmas decoration, but I think I will make some hot pink ones for a friend who has an all pink tree. Once the glue is dry, you are done…if you want; there is an optional step 6.

Icicle Craft - Step 4

Optional Step 6:
If you would like to help make sure the icicles last as long as possible, for Christmas after Christmas, get some clear acrylic spray and do a coat of clear coat. This will help seal the glitter to the icicle, and help them to last longer. Make sure to do this in a well ventilated area and allow them to dry completely before you hang on your tree

May your Christmas sparkle!

Harvest Party

Earlier this month, I worked with a mommy and me group here in Colorado Springs, Colorado, to put together a Harvest party for their little ones! The party was held at my friend, Christina’s home, she has about 5 acres of land; perfect for all the kids to run around and play. I was lucky enough to be included in this amazing event. The kids all had an amazing time! The families donated different items for the party so no one person had to carry the expense of throwing the party.

We started by making a list of what activities we wanted for the kids, and then what would be needed to make the activities happen. Christina managed most of the list, and I assisted with arranging pick up and drop offs of supplies. When Christina got overwhelmed with the list, I stepped in and helped take some of the pressure off her by taking over a portion of the list so she could focus on getting her home ready for this amazing party!

The day was perfect for a Harvest party! Even though it was a little cold, it was a pretty typical fall day here in Colorado. Plus, we had hot apple cider and a couple fire pits to make s’mores to help keep everyone warm and toasty. The kiddos got to play games like bobbing for apples (a sanitary version), can toss, a pine cone hunt, a 3-leg race, and an egg toss game. They also had face painting and the kids made bird feeders from the pine cones they found in the pine cone hunt. The party was a total success and for the size of the party, it was fairly inexpensive, especially with everyone chipping in on supplies.

Here are some pictures from the event:

3 Leg Race Sign

Apple Tree

The kiddos used the pine cones from the pine cones hunt to make bird feeders! The used peanut butter to fill the gaps in the pine cones then rolled the pine cones in bird seed to make the bird feeders. If you have a child who is allergic to peanuts, use shortening instead. This is such an easy, fun craft to do with your little ones!
Pine Cones

Bird Feeder

Can Toss

Egg Toss Sign

Hay Bales

Sack Race Sign

Scarecrow

Schedule Sign

Kid Friendly Halloween Craft

I spent most of my teenage years working at day camps with my church in Richmond, California. We were always looking for creative crafts for all of the little ones to complete, and this would have been perfect! It is fun, simple enough for all ages, and inexpensive. This is a project that can easily be done with your own little ones as a Halloween decoration for your home or Halloween party. I will be using it as a holder for straws and plasticware for our upcoming Halloween party.

Supplies:

Clean, empty aluminum can (don’t worry about a little glue residue on the outside of the can)
Gauze (or cheesecloth)
Googly eyes
Glue
KF Halloween - Supplies

Step 1:
Glue googly eyes to your desired location on the can. I left a small gap from the top of the eyes to the top of the can so there would be a piece of gauze between the eyes and the top of the can.
KF Halloween - Step 1

Step 2: Wrap gauze (or cheesecloth) around the can. Above the eyes, I wrapped the gauze around the can. The gauze is wide enough to fold over the top of the can (if the inside of the can opening is sharp, make sure to help your little one with this part). Wrap the gauze around the bottom of the can. There are no rules to this part, wrap as many times as you would like.
KF Halloween - Step 2

KF Halloween - Step 3

KF Halloween - Complete

Once the glue is dry, it is done!
Here are a couple different variations you can do with this project:
1. Paint the can white before attaching the googly eyes and the gauze.
2. Use glow in the dark googly eyes and put the can outside as a path marker. If you do this, make sure you weigh it down with rocks, and I would include an electric tealight.
3. Instead of painting the can white, use construction paper or cardstock.

This is a project you can do with your kiddos, and they can have fun with it! Enjoy your family crafting time!

Party Favors

Everybody loves a gift…ok, well maybe not EVERYONE, but everyone I know, loves a gift! When you are hosting a party, your guests deserve a little something. Your guests are taking time from their lives to celebrate with you and the guest of honor, and I believe that those guests should get a little gift. It does not matter who the party is for; kids, adults; or even a group. Nobody wants to be known as a person who throws a bad party and party favors help give your guests a positive memory of the party to take home. Here is a list of some of the favors I’ve given in the past:

Willy Wonka (an adult only party): 2 Aspirin, Sports drink (to rehydrate the next day), a candy bar, a toothbrush, and toothpaste.

Harry Potter: Broom bags
Harry Potter Treat Bag

Scooby Doo: Dog dish with bubbles, magnifying glass, glow necklace, Scooby Doo temporary tattoo, Scooby Doo Candy Sticks, Pop Rocks, Scooby Snacks, and a crazy straw

Harvest Party: Lil’ Pink Cheeked Pumpkin bags with candy corn
Harvest Party - Favor
Harley Davidson: Chocolate Motorcycle
Harley Party - Party Favor

The favors can be really inexpensive or more extravagant if you would like, but it is entirely up to you and what fits into your budget. I made about 30 chocolate motorcycles for the Harley Davidson party, and the favors included the chocolate melts, chocolate mold, lollipop stick, cellophane bag, favor tag, and ribbon; but I only paid less than $1 per favor. If you know you want to make a favor for a party, keep an eye out for items on clearance, on sale, or at a dollar store. Tell me about some of the favors you’ve made for some of your parties!

Pretty, Sparkly, Glitter Pumpkin!

I have seen glittery pumpkins everywhere this year and I wanted to do one myself. I didn’t want to spend what the hobby and craft stores were asking, so I set out to make a pretty, sparkly, glittery pumpkin on a budget!

Supplies:
Pumpkin (I got a fake pumpkin from Michaels)
Glitter, whatever color you want
Paint brush
Glue (I used Mod Podge, but any white glue will work)
Pie Tin
Bowl (I used a disposable bowl so I don’t have to wash glue out of a bowl)
Newspaper or something to protect your work surface

Glitter Pumpkin - Supplies

Step 1: Lay out the newspaper and pour some glue into the bowl.
Step 2: Dip the paint brush in some glue and brush a section of the pumpkin.
Step 3: Sprinkle glitter over the area covered with glue. Make sure it is a heavy layer to make sure it is covered evenly. You will want to do a section at a time to make sure you get the glitter even and don’t make a GIGANTIC mess.

Glitter Pumpkin - Step 2

Glitter Pumpkin - In Progress 2

Glitter Pumpkin - In Progress

Glitter Pumpkin - Mess

Step 4: Repeat step 3 until the pumpkin is covered in beautiful, sparkly glitter! I did not put glitter on the very bottom of the pumpkin, to make sure it sits evenly on our table.

Viola!
Glitter Pumpkin - Complete

I paid about $7 for the pumpkin, I already had the glue, and I paid about $10 for the entire big bottle of glitter, but I used only about 1/8 of the bottle, making the cost for the entire pumpkin $8.25. What do you think???